In this guide, we will look at how to optimize your iPhone camera settings. In the age of social media and instant memories, smartphones have become our go-to tools for capturing precious moments and breathtaking scenes. Apple’s iPhones, renowned for their intuitive design and advanced cameras, offer a powerful platform for aspiring and seasoned photographers alike. However, unlocking the full potential of your iPhone camera requires understanding and optimizing its settings to suit your photographic vision.
This comprehensive guide delves into the world of iPhone camera settings, empowering you to elevate your mobile photography game. We’ll explore the intricacies of each setting, providing clear explanations, practical tips, and real-world examples to guide your journey.
How to Optimize Your iPhone Camera Settings Unlocking the Basics:
Understanding Camera Modes:
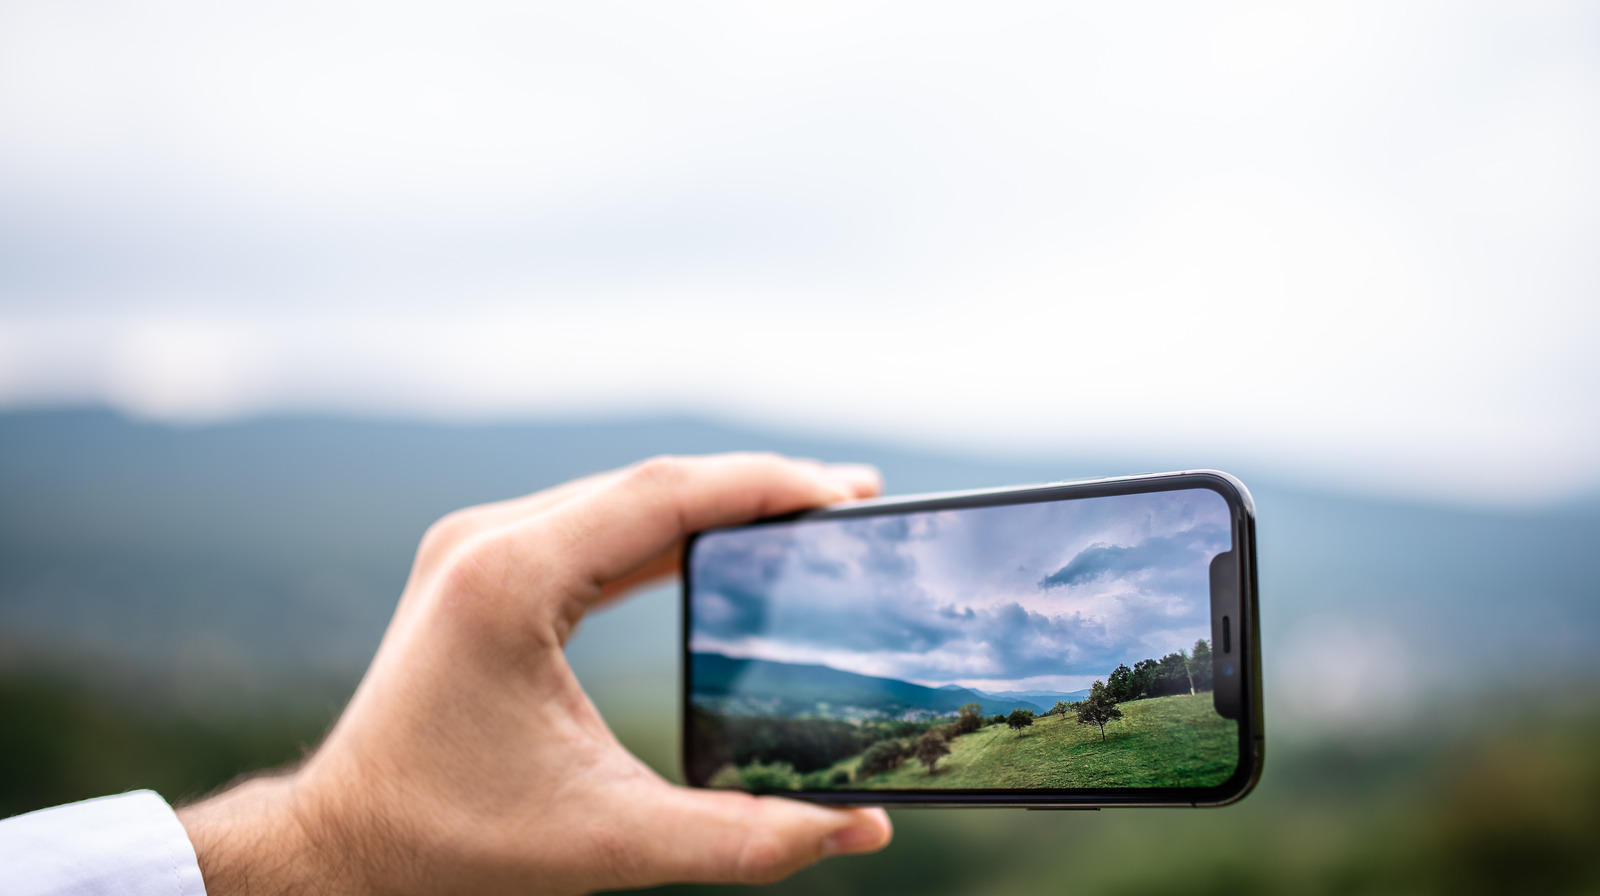
Photo: Your everyday mode for capturing still images. Ideal for quick snaps, landscapes, and portraits.
Portrait: Creates a blurred background effect, highlighting your subject. Experiment with Portrait Lighting for various moods.
Pano: Capture expansive landscapes or group shots by stitching multiple images together.
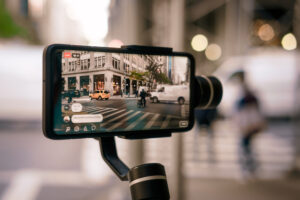
Video: Record high-quality videos in various resolutions and frame rates. Choose the right combination for your needs.
Slo-mo: Capture slow-motion footage for dramatic effects. Explore different frame rates for artistic control.
Timelapse: Condense slow-moving scenes into visually engaging videos, perfect for sunrises or cloudscapes.
Mastering Exposure and Focus:
Exposure: Controls the amount of light captured by the sensor. Adjust with the on-screen slider or tap to lock exposure on specific areas.
Auto Exposure Lock (AE Lock): Maintain specific exposure even when the scene changes, ideal for backlit subjects.
Focus: Tap to set the focus point. Tap and hold for continuous autofocus for moving subjects.
Focus Peaking: Activate this feature (in Settings > Camera) to highlight focused areas for precise control.
Exploring Advanced Settings:
HDR (High Dynamic Range): Captures multiple exposures merged into one image, preserving details in both shadows and highlights. Use for high-contrast scenes.
Live Photos: Captures a brief moment before and after taking a photo, creating a dynamic, interactive image.
Grid: Overlay a grid to help with composition and alignment. Activate in Settings > Camera.
Level: Ensure your photos are straight by enabling the level indicator in Settings > Camera.
Photo Styles: Apply preset filters for instant creative effects. Customize in Settings > Camera > Photo Styles.
Delving into Pro Camera Mode:
Pro Camera Mode: Unlocked on iPhone 11 and later, it offers manual control over exposure, shutter speed, and ISO.
ISO: Adjusts sensor sensitivity to light. Lower ISO for cleaner images, higher for low-light situations.
Shutter Speed: Controls the duration the camera sensor captures light. Use slower speeds for motion blur, faster speeds to freeze action.
White Balance: Adjusts color temperature for natural-looking tones under different lighting conditions.
Exposure Compensation: Fine-tune overall brightness independently of ISO and shutter speed.
Creative Techniques and Enhancements:
Burst Mode: Rapidly capture multiple shots for action sequences or choosing the perfect moment.
Depth Control: Adjust the blur intensity in Portrait mode after capture for artistic effects.
Night Mode: Automatically takes multiple long exposures and merges them for brighter, low-light shots.
QuickTake: Hold the shutter button in Photo mode to instantly start recording video.
Editing Tools: Crop, adjust exposure, enhance colors, and apply filters within the Photos app.
Beyond the Basics:
Third-Party Apps: Explore apps like ProCam, Halide, and VSCO for more granular control and creative options.
External Lenses: Attach wide-angle, telephoto, or macro lenses for expanded possibilities.
Tripods and Stabilizers: Enhance stability for long exposures, timelapses, and low-light situations.
Composition Techniques: Rule of Thirds, leading lines, and negative space can elevate your photos.
Practice and Experimentation: The best way to master your iPhone camera is to use it often and experiment!
How to Optimize Your iPhone Camera Settings Remember:
How to Optimize Your iPhone Camera Settings: There’s no one-size-fits-all approach. Explore different settings, understand their impact, and tailor them to your specific needs and creative vision. By embracing experimentation and practice, you’ll unlock the hidden potential of your iPhone camera and capture stunning images that tell your story.
Advanced Lighting Techniques:
Light Painting: Use long exposure times and external light sources for creative effects.
Silhouettes: Capture subjects against strong backlight for dramatic results.
Bounce Flash: Redirect flash off a surface for softer lighting.
Third-Party Lighting Gear: Explore external flashes, LED panels, and diffusers for more control.
How to Optimize Your iPhone Camera Settings Compositional Tips:
Leading Lines: Draw the viewer’s eye into the photo using lines, patterns, or curves.
Negative Space: Utilize empty space around your subject to emphasize its importance.
Foreground, Midground, Background: Layer elements within the frame to create depth and interest.
Symmetry and Patterns: Utilize natural or man-made symmetry for visually pleasing compositions.
Editing and Sharing:
RAW Capture: Utilize RAW format for more editing flexibility (available on select iPhone models).
Non-Destructive Editing: Edit copies of photos to preserve originals.
Selective Editing: Adjust exposure, color, and other settings in specific areas.
Presets and Styles: Create and apply custom editing styles for consistent looks.
Social Media Optimization: Adjust photos for different platforms’ size and aspect ratio requirements.
Beyond Your iPhone:
Learning from Professionals: Follow photographers and study their techniques.
Photo Challenges and Competitions: Participate in events to push your creativity and get feedback.
Mobile Photography Community: Connect with other mobile photographers for inspiration and learning.
Ethical Considerations: Be mindful of privacy and permissions when photographing people and places.
11 iPhone Camera Settings You Must Master to Take Better Photos
1. Preserve Your iPhone’s Camera Settings.
2. Enable Grid Lines.
3. Use Burst Mode.
4. Turn On Live Photo.
5. Lock the Focus and Exposure.
6. Adjust the Exposure Bias.
7. Change the Aspect Ratio.
8. Take Advantage of Your iPhone’s Camera Timer.
9. Mirror Your Front Camera.
10. Mute the Camera Noise.
11. Enable Location Services for the Camera App.
How to Optimize Your iPhone Camera Settings Conclusion:
By mastering the tools and techniques discussed in this guide, you can transform your iPhone into a powerful tool for storytelling and artistic expression. Remember, photography is a journey of exploration and experimentation. So, don’t be afraid to break the rules, embrace your unique style, and most importantly, have fun capturing the world around you!